Create Dynamic meta-tags for your posts in NextJS
This blog post deals with creating dynamic meta-tags in your NextJS project but you can use it with a framework that supports dynamic routing.
Meta tags are specific HTML snippets of text and image content that provide a summary for your webpage to web-crawlers like Google-bot. These meta-tags affect how your webpages appear on Google search results or when someone shares a link on social media or in messaging.
Things to know before hand
These are things I expect you to already know to work with this tutorial. However, we will be going over them briefly and I will try to explain what they do.
Open Graph (og) meta tags
In short, these meta-tags help crawlers understand our content and decide how our content appears on the internet. A few of these meta-tags are -
og:title- The title of your web page, e.g., "Reducing Friction".og:image- An image URL which will appear on link sharing.og:description- description of your content.
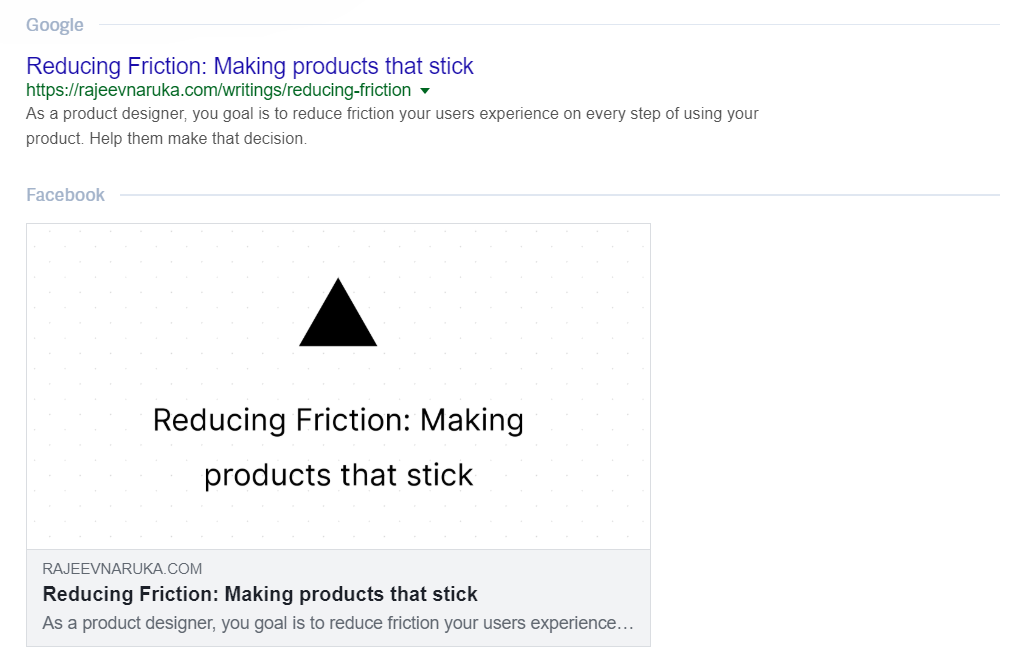
You can see the title, image and description in action in the following images.
Here is how my blog post will appear in Google search results and when you share links on Facebook.

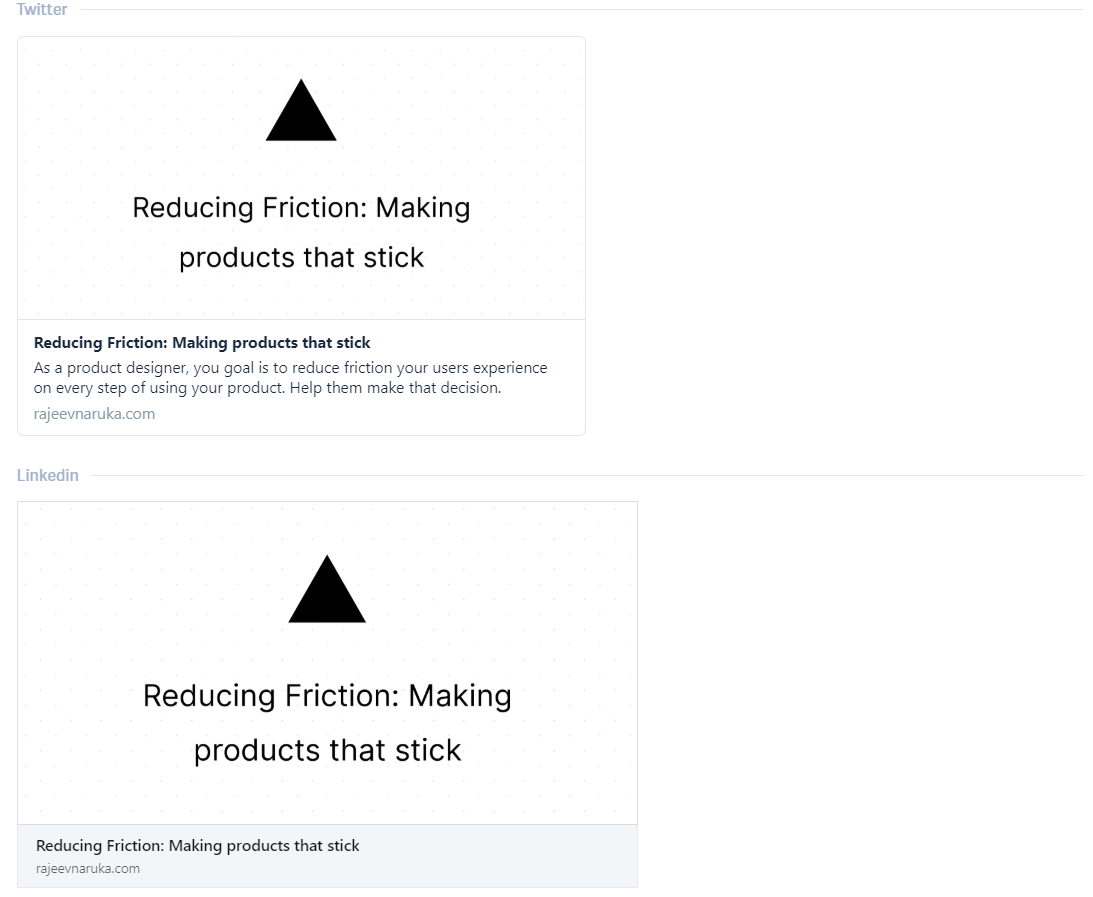
Here is how it will appear when you share link on Twitter and LinkedIn.

Open Graph Image as a Service
I love NextJS because of the awesome community that maintains it, that is Vercel or formerly Zeit. Good folks at Vercel are always creating interesting projects for everyone to use like SWR, static.fun and now this - Open graph image as a service.
It's a free service where you can create images by modifying the URL. Under the hood, it exposes an API end-point that takes query parameters to generate an image using Puppeteer. But you don't need that, all you need is how easy it is to create dynamic images right from the browser.
See the image below -
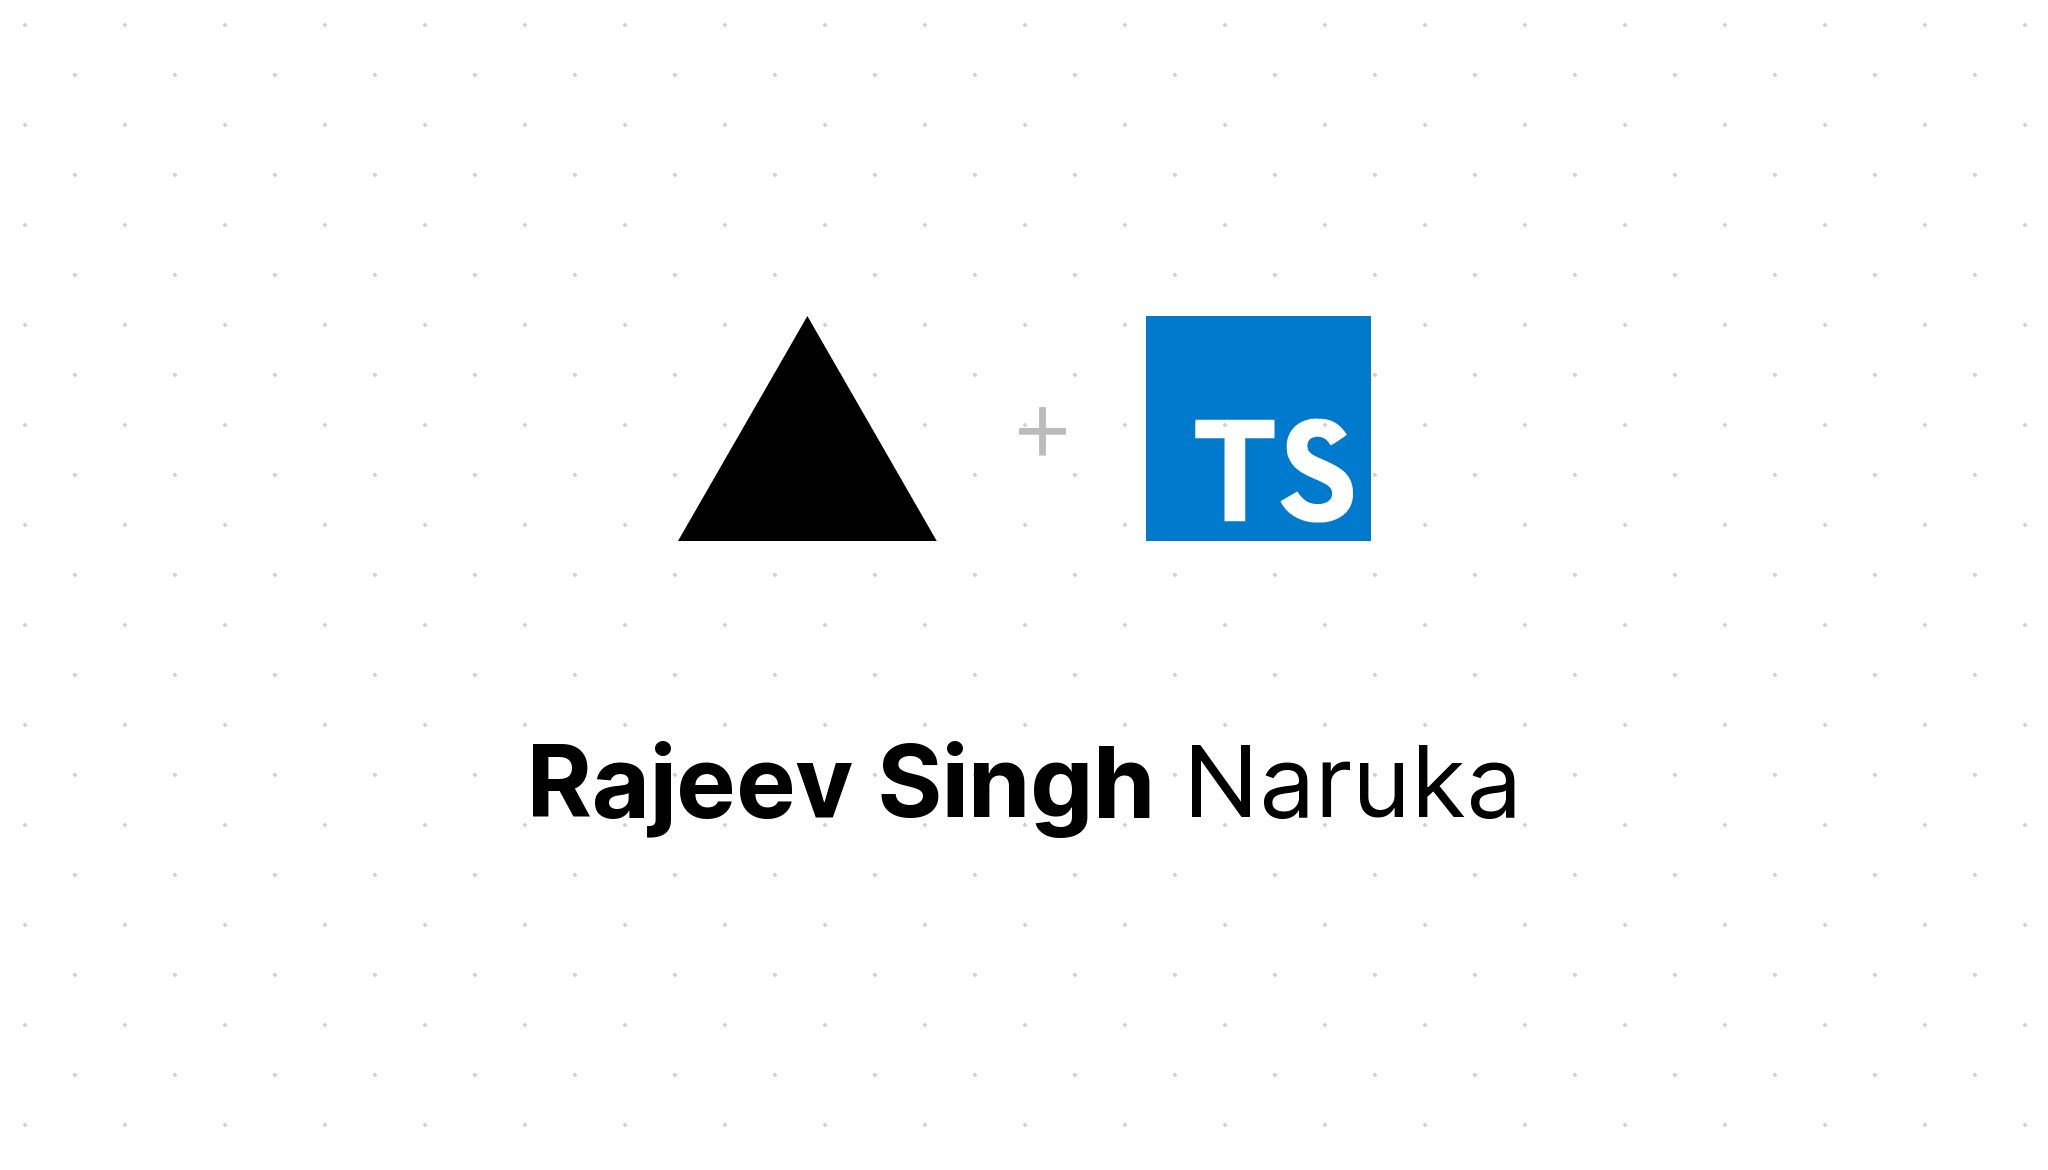
It's an embed image and the link that is embedded here is-
https://og-image.now.sh/**Rajeev Singh**
Naruka.png?theme=light&md=1&fontSize=100px&images=https%3A%2F%2Fassets.vercel.com%2Fimage%2Fupload%2Ffront%2Fassets%2Fdesign%2Fvercel-triangle-black.svg&images=https%3A%2F%2Fcdn.jsdelivr.net%2Fgh%2Fremojansen%2Flogo.ts%40master%2Fts.svg](https://og-image.now.sh/**Rajeev%20Singh**%20%20Naruka.png?theme=light&md=1&fontSize=100px&images=https%3A%2F%2Fassets.vercel.com%2Fimage%2Fupload%2Ffront%2Fassets%2Fdesign%2Fvercel-triangle-black.svg&images=https%3A%2F%2Fcdn.jsdelivr.net%2Fgh%2Fremojansen%2Flogo.ts%40master%2Fts.svg)
Let's break it down. The long query string you are seeing is basically a JSON object we are sending to the API endpoint along with our request -
{
  "theme": "light",
  "md": "1",
  "fontSize": "100px",
  "images": [
    "https://assets.vercel.com/image/upload/front/assets/design/vercel-triangle-black.svg",
    "https://cdn.jsdelivr.net/gh/remojansen/logo.ts@master/ts.svg"
  ]
}
These are pretty self-explanatory. I would suggest you to put this URL in your browser and change a few things. Change the value **RajeevSingh**Naruka.png in browser to **Hello**World.png. Markdown is supported too.
We will be using this free service to create dynamic images for our meta-tags.
Dynamic Routing in NextJS
Suppose you are creating your blog in NextJS. Now you have some idea how each of your blogs should look, what type of content it will have. But the problem is you that you will be adding those blog posts one by one and hence you can't make all the routes beforehand because even you don't know what blog you will write and when.
For example, I have a blog post titled - Reducing Friction: Making products that stick
The URL is - https://rajeevnaruka.com/writings/reducing-friction
now dynamic routing allows us to create the layout of such blogs and enable routing ahead of time and the URLs will be of type - https://rajeevnaruka.com/writings/[slug]
This slug is generated from each new blog-post title, and whenever I add a new blog-post, a new route is created on the build. You can even escape from the build process but that's a story for another time.
Learn about dynamic routes as it is very essential - https://nextjs.org/docs/routing/dynamic-routes
Let's get started
I believe you have already created a dynamic page for your blog posts. Mine is called [slug].js
The square brackets is a special notation for NextJS indicating dynamic routing. That means the slug is generated on build time(mostly) and we can't predict it's value.
Get data for your post using getInitialProps
The blogs you create are dynamic and that means you can fetch them in any way you like from any source you like. This dynamic data can be fetched from a CMS or your filesystem. I am using my local filesystem (local to the project directory and not my system). You can get it from anywhere you like. You can use other fetching methods for this as per your need(check official docs) but I am using it for two reasons-
I am fetching my blogs from the local file system.
getInitialPropsenables server-side rendering(SSR) in a page and allows you to do the initial data population, it means sending the page with the data already populated from the server. This is especially useful for SEO. (From the official docs).
Here is my getInitialProps function -
Writing.getInitialProps = async (context) => {
  const { slug } = context.query
  const content = await import(`../../writings/${slug}.md`)
  const data = matter(content.default)

  return { ...data }
}
As you can see, I am importing files from local directory with relative path and a folder called writings.
There are a lot of things happening in this code, but I will need a seperate blog post to explain that. You can subscribe to my blog to get the next post on Dynamic Routes right in your email.
Let me explain in short - each request made to the server has a query, for example, https://rajeevnaruka.com/writings/reducing-friction has a query reducing-friction.
This query is being de-structured to get the slug from context prop of the getInitialProps function.
Using this slug, we import our local file called reducing-friction.md from folder called writings.
Using an NPM package called matter we are parsing data from the content we just dynamically imported on a particular request to the server. Without a doubt, this is not a static website or blog. That's the whole point.
Using the data to create dynamic meta-tags
The data you returned from your getInitialProps is passed as props to default export, here called Writing. We have de-structured the data into: title, author, og. This was parsed with the NPM package matter as we discussed earlier. You can pass your data from getInitialProps as an object and use it in any way suitable.
function Writing({ content, data }) {
  const { title, author, og } = data
}
Final step - using ES6 template strings and Next/head
Meta tags are part of
in HTML markup. In NextJS, if you want to add things head tag, do this -import React from "react";
import Head from "next/head";
function Writing({ content, data }) {
const { title, author, og } = data;
}
return (
<>
<Head>
{/*you meta tags*/}
</Head>
{/*remaining component*/}
</>
);
}
Since you have access to all the data required per post like title, description and image link, you can create them dynamically now.
Here is how I set it up using ES6 template strings -
<Head>
  {/* Primary Meta Tags  */}
  <meta
    key="description"
    name="description"
    content={
      og
        ? og.description
        : `I blog about React, NextJS, TailwindCSS, GraphQL, Firebase, and everything related to web-development or indie hacking and also share about the projects I am working on.`
    }
  />

  {/* Open Graph / Facebook  */}
  <meta key="og:title" property="og:title" content={title} />
  <meta
    key="og:description"
    property="og:description"
    content={
      og
        ? og.description
        : `I blog about React, NextJS, TailwindCSS, GraphQL, Firebase, and everything related to web-development or indie hacking and also share about the projects I am working on.`
    }
  />
  <meta
    key="og:image"
    property="og:image"
    content={
      og
        ? `https://og-image.now.sh/${title}.png?theme=light&md=1&fontSize=100px&images=https%3A%2F%2Fassets.vercel.com%2Fimage%2Fupload%2Ffront%2Fassets%2Fdesign%2Fvercel-triangle-black.svg`
        : `https://rajeevnaruka.com/og/mysite-homepage.png`
    }
  />
  {/* Twitter  */}
  <meta key="twitter:title" property="twitter:title" content={title} />
  <meta
    key="twitter:description"
    property="twitter:description"
    content={
      og
        ? og.description
        : `I blog about React, NextJS, TailwindCSS, GraphQL, Firebase, and everything related to web-development or indie hacking and also share about the projects I am working on.`
    }
  />
  <meta
    key="twitter:image"
    property="twitter:image"
    content={
      og
        ? `https://og-image.now.sh/${title}.png?theme=light&md=1&fontSize=100px&images=https%3A%2F%2Fassets.vercel.com%2Fimage%2Fupload%2Ffront%2Fassets%2Fdesign%2Fvercel-triangle-black.svg`
        : `https://rajeevnaruka.com/og/mysite-homepage.png`
    }
  />
</Head>
You can see how I am creating those og:image dynamically using https://og-image.now.sh/.
If you have any doubts or find any corrections, feel free to dm me on twitter. Subscribe to the blog if you haven't already. Keep rocking.