Make a News Website with NextJS and Prismic
In this tutorial, we will be creating a dynamic news website using NextJS (a ReactJS framework) and Prismic (a headless CMS) for managing all our articles that are published on the news site. For styling our react components we will be using TailwindCSS.
Before You start
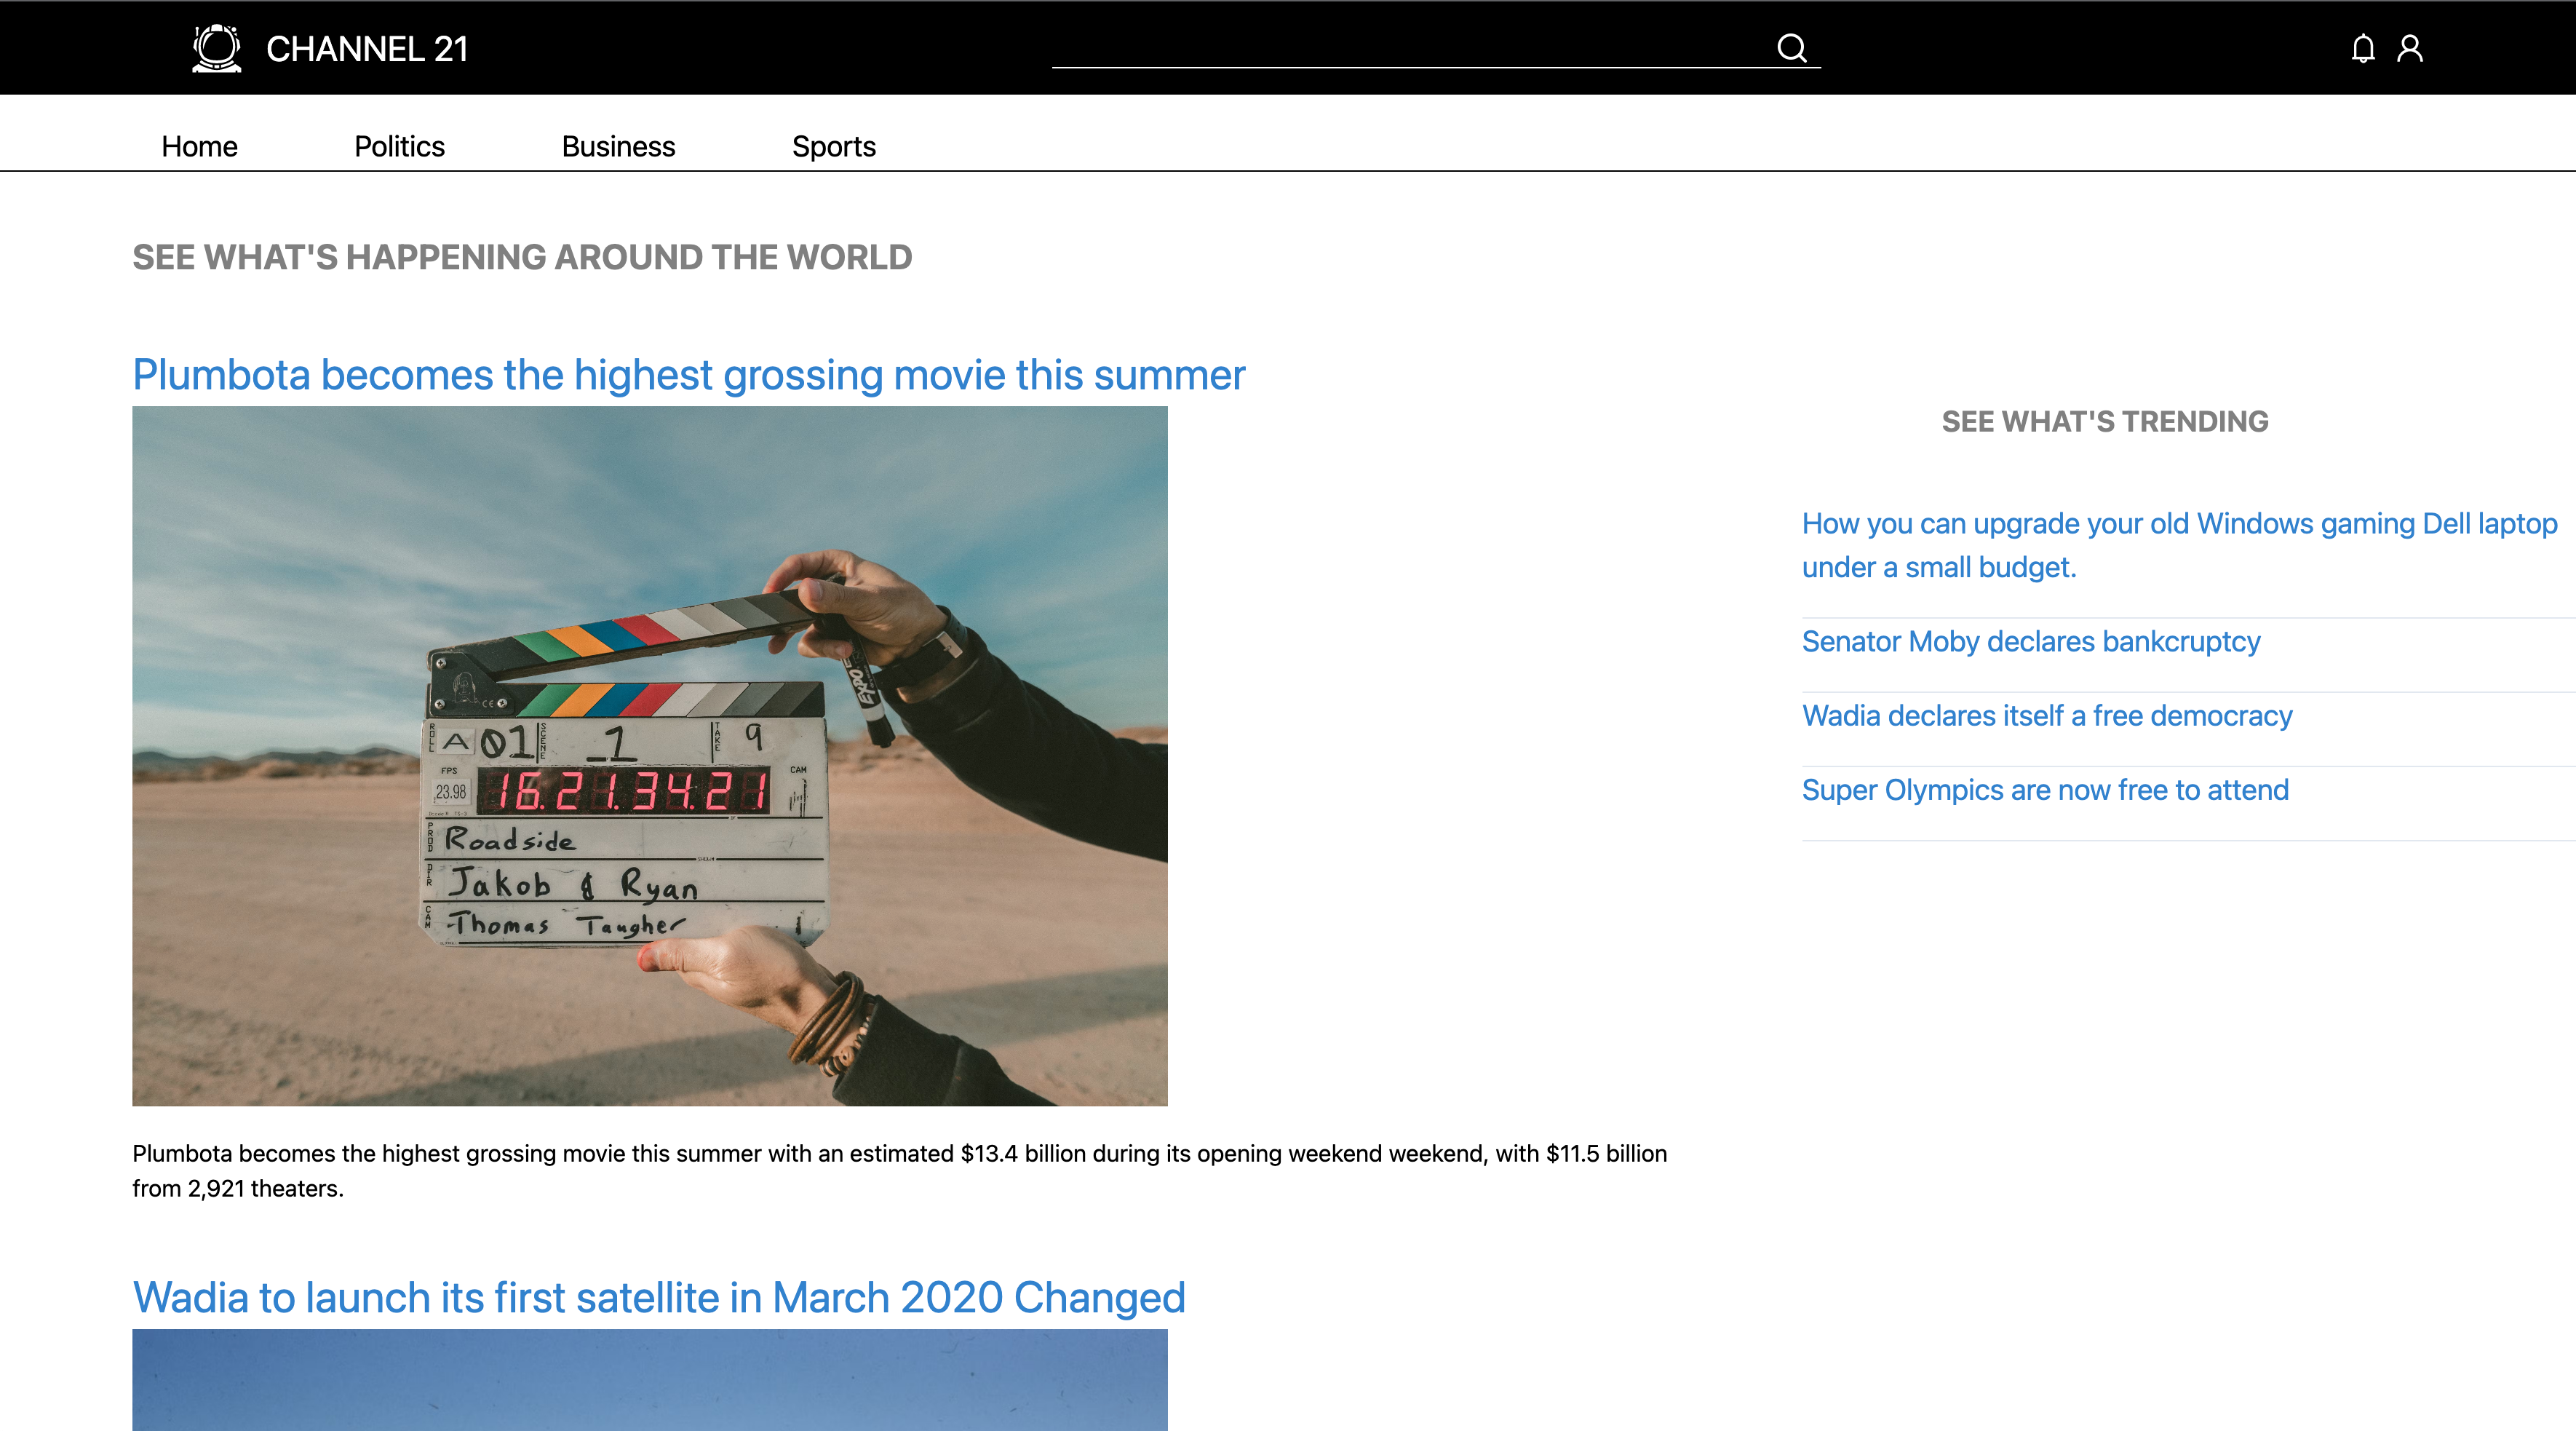
You can visit the finished site here - https://channel21.vercel.app
Here is a screenshot of the website.

You can also view the source code on my GitHub repository here - https://github.com/toughyear/nextjs-prismic-news-site
If you would prefer a video tutorial here it is - https://www.youtube.com/playlist?list=PLTFXMZ8MUFpr-eHIkU8-6b5DB0Ho_xL88
This video tutorial will cover the following topics -
- Setting up NextJS project along with TailwindCSS.
- Creating layout of the site.
- Understanding the Prismic CMS and how custom types work.
- Creating new articles on the CMS and publishing them.
- Integrating the app to backend Prismic CMS.
- Creating pages with dynamic routing in NextJS.
- Connecting the codebase with GitHub and creating a CI/CD pipeline.
- Deploying on Vercel platform.
We will be going over most of these topics in this blog post too.
Setting up the project
There are two ways to set this project up. You could use a boilerplate code for your favorite flavor of the NextJS combination, I prefer TailwindCSS. Here is a good repository if you are interested in directly using a boilerplate - https://github.com/tailwindcss/setup-examples/tree/master/examples/nextjs.
The second method is to set up everything by yourself and we will be covering this as well. Here too, you can setup tailwind with NextJS in a number of ways but we will be using a kind of traditional approach here.
Create a NextJS project
Open the CMD in the relevant directory and type in -
npx create-next-app news-site
This will create a new NextJS project inside a folder news-site. It will also intialize a git repository for you.
Installing dependencies
Now you can change the directory by typing in cd news-site. Once you are inside the directory you can use npm run dev to start the dev server but before starting the dev server we need to install a few more dependencies. So type in -
npm install @fullhuman/postcss-purgecss autoprefixer postcss-import prismic-javascript prismic-reactjs react-icons tailwindcss
We will be going to all of these dependencies one by one now.
@fullhuman/postcss-purgecss: purges the extra css classes generated by tailwind
autoprefixer: adds the vendor prefixes to our classes.
postcss-import: PostCSS plugin to inline @import rules content
prismic-javascript: Provides useful functions for rendering the data fetched from the CMS.
prismic-reactjs: this will be needed to our prismic integration.
react-icons: icons library we will be using in our project.
tailwindcss: initialize tailwindcss
After installing all these dependencies your package.json should be looking like this -
{
  "name": "news-site",
  "version": "0.1.0",
  "private": true,
  "scripts": {
    "dev": "next dev",
    "build": "next build",
    "start": "next start"
  },
  "dependencies": {
    "@fullhuman/postcss-purgecss": "^2.3.0",
    "autoprefixer": "^9.8.6",
    "next": "9.5.1",
    "postcss-import": "^12.0.1",
    "prismic-javascript": "^3.0.1",
    "prismic-reactjs": "^1.3.2",
    "react": "16.13.1",
    "react-dom": "16.13.1",
    "react-icons": "^3.10.0",
    "tailwindcss": "^1.6.0"
  }
}
Setting up config files
Create a Tailwind config file so that you can customize the CSS classes generated according to your needs.
// tailwind.config.js
module.exports = {
  purge: false,
  theme: {},
  variants: {
    borderColor: ['hover', 'focus'],
  },
  plugins: [],
}
Create a folder in the root directory called css and create two files inside it tailwind.css and base.css like the following -
/*base.css you can use this file to add any custom css classes to your project*/

@import url('https://fonts.googleapis.com/css2?family=Roboto:wght@400;700&display=swap');
body {
  margin: 0;
  -webkit-font-smoothing: antialiased;
  -moz-osx-font-smoothing: grayscale;
}

html {
  scroll-behavior: smooth;
}
body {
  font-family: 'Roboto', sans-serif;
}
/* tailwind.css */
/* purgecss start ignore */
@import 'tailwindcss/base';
/* purgecss end ignore */

@import 'tailwindcss/components';

@import 'tailwindcss/utilities';
Make sure you import these css files and remove earlier references inside the _app.js file (inside the pages folder).
// _app.js

import '../css/tailwind.css'
import '../css/base.css'

function MyApp({ Component, pageProps }) {
  return <Component {...pageProps} />
}

export default MyApp
We will also need to configure the postcss plugins. For this we will need a postcss.config.js file which will look like this -
const purgecss = [
  '@fullhuman/postcss-purgecss',
  {
    content: ['./components/**/*.js', './pages/**/*.js'],
    defaultExtractor: (content) => {
      const broadMatches = content.match(/[^<>"'`\s]*[^<>"'`\s:]/g) || []
      const innerMatches = content.match(/[^<>"'`\s.()]*[^<>"'`\s.():]/g) || []
      return broadMatches.concat(innerMatches)
    },
  },
]
module.exports = {
  plugins: [
    'postcss-import',
    'tailwindcss',
    'autoprefixer',
    ...(process.env.NODE_ENV === 'production' ? [purgecss] : []),
  ],
}
What this config file is doing is, adding those three plugins we installed, but only two of them run every time on the compilation. The third one, that is the purgecss plugin which purges all the classes runs only when the environment is set to production.
You will also need to configure your connection to the backend Prismic CMS. For this, create an account on Prismic, create a new repository, go to the settings panel and copy the API endpoint. For this tutorial you don't need an access token.
Prismic offers generous free tier so make sure you choose it while creating a new repository. Make sure it is public when you copy the API endpoint.
// prismic.config.js
import Prismic from 'prismic-javascript'

export const apiEndpoint = 'https://<yoursite>.cdn.prismic.io/api/v2'

// you can leave this access token blank for this tutorial
export const accessToken = ''

// creating a prismic client

export const Client = (req = null) =>
  Prismic.client(apiEndpoint, createClientOptions(req, accessToken))

const createClientOptions = (req = null, prismicAccessToken = null) => {
  const reqOption = req ? { req } : {}
  const accessTokenOption = prismicAccessToken ? { accessToken: prismicAccessToken } : {}

  return {
    ...reqOption,
    ...accessTokenOption,
  }
}
You can now use this client function and use it to query your backend CMS wherever you want.
Creating the Layout of the site
We will create a react component called Layout.js which will decide the overall look and feel of the site because it will be having to code for the navbar and the footer. For this create a new folder called components inside the root directory and create a JavaScript file Layout.js with the following code-
// Layout.js
import { AiOutlineBell, AiOutlineUser } from 'react-icons/ai'
import { GiAstronautHelmet } from 'react-icons/gi'
import { FiSearch } from 'react-icons/fi'
import Link from 'next/link'
export default function Layout({ children }) {
return (
<div>
<div className="flex h-16 justify-between bg-black px-2 text-white md:px-24">
<Link href="/">
<a className="my-auto flex px-10 align-baseline text-2xl uppercase text-white">
<GiAstronautHelmet className="mr-4 inline text-4xl" /> Channel 21
</a>
</Link>
<div className="flex w-1/3 items-center text-lg">
<input type="text" className="w-full border-b border-white bg-transparent outline-none" />
<FiSearch className="-ml-8 cursor-pointer text-2xl hover:text-red-600" />
</div>
<div className="flex items-center text-2xl">
<AiOutlineBell className="mr-2 cursor-pointer hover:text-red-600" />
<AiOutlineUser className="mr-2 cursor-pointer hover:text-red-600" />
</div>
</div>
<div className="flex border-b border-black bg-white px-2 md:px-24">
<Link href="/">
<a className="mr-10 mt-5 border-b-2 border-transparent px-5 text-xl hover:border-black">
Home
</a>
</Link>
<Link href="/politics">
<a className="mr-10 mt-5 border-b-2 border-transparent px-5 text-xl hover:border-black">
Politics
</a>
</Link>
<Link href="/business">
<a className="mr-10 mt-5 border-b-2 border-transparent px-5 text-xl hover:border-black">
Business
</a>
</Link>
<Link href="/sports">
<a className="mr-10 mt-5 border-b-2 border-transparent px-5 text-xl hover:border-black">
Sports
</a>
</Link>
</div>
{children}
<div className="flex flex-col bg-black px-24 py-10 text-xl text-white">
<div>
<Link href="/">
<a className="my-auto flex px-10 align-baseline text-2xl uppercase text-white">
<GiAstronautHelmet className="mr-4 inline text-4xl" /> Channel 21
</a>
</Link>
</div>
<div className="mt-10 grid max-w-3xl grid-cols-3 grid-rows-3 gap-5">
<h1>Careers</h1>
<h1>About Us</h1>
<h1>API</h1>
<h1>Media</h1>
<h1>Contact Us</h1>
<h1>Privacy Policy</h1>
<h1>Partners</h1>
<h1>Vision</h1>
<h1>Project VisQ</h1>
</div>
<div className="my-10 max-w-2xl text-sm">
Channel 21 is a open-media intiative by Xmedia Gcorp, US ® and is registered as not for
profit organization. All rights reserved. © {new Date().getFullYear()}
</div>
</div>
</div>
)
}
The code is self explainable. We have used react-icons library and TailwindCSS classes for styling our react component. Make sure you use the nextJS Link for handling the routing for you.
All of these links will not work because we haven't created those pages yet -the business page, the sports page among others.
So let's create them.
Creating the pages
The NextJS offers routing based on pages and we will be creating a few pages - index.js(homepage), business.js, sports.js, and politics.js. We will be also creating some dynamic routes but that will be dealt with later.
The homepage will be referenced by index.js and will look like this initially but we will be adding more code later.
import Prismic from 'prismic-javascript'
import Head from 'next/head'
import { RichText } from 'prismic-reactjs'
import Layout from '../components/Layout'
import Link from 'next/link'
import { Client } from '../prismic-configuration'

export default function Home() {
  return (
    <div>
      <Head>
        <title>Create Next App</title>
        <link rel="icon" href="/favicon.ico" />
      </Head>

      <Layout>Hi from Home</Layout>
    </div>
  )
}
There are many imports we are not using right now but we will be using them later.
Similarly let's create other pages as well for business, sports, and politics inside the pages folder. They will all look the same for now but you can change the text inside the layout component to differentiate as of now.
Using the NextJS's getServerSideProps() method for server side rendering
NextJS has a special function called getServerSideProps() which basically enables the server-side rendering and as per the docs, if you export an async function called getServerSideProps from a page, Next.js will pre-render this page on each request using the data returned by getServerSideProps.
That's what we need in this tutorial because news changes fasts and we need the viewers to get the latest news and everytime you refresh the browser, the user should get the updated news from the backend CMS.
Hence we will be using getServerSideProps().
You can read more about it here - https://nextjs.org/docs/basic-features/data-fetching#getserversideprops-server-side-rendering
This function can only be called from a page inside the pages folder. And it must return a JSON object which can be destructured by the default export of the page to use that to render the data that has been fetched by it on the fresh request on the page reload or first loading.
An example similar to official docs would be -
function Page({ data }) {
  // Render the data...
}

// This gets called on every request
export async function getServerSideProps() {
  // Fetch data from external API
  const res = await fetch(`mysite.com/api`)
  const data = await res.json()

  // Pass data to the page via props
  return { props: { data } }
}

export default Page
We will be using the method to fetch the data from the Prismic CMS.
Understanding the Prismic custom types
Prismic has a feature called a custom type which is basically a blueprint of your articles, blog posts, etc. Custom type can be of two types itself, repeatable and non-repeatable. Repeatable custom types are the types which are going to be repeated in the future for example blog post they will have the same structure always. Non-repeatable custom types I like the data you would need to fetch for your homepage only.
Once you create a new account on prismic.io and create a new repository as per your need with a free account preferably you can go on and open the dashboard and go to the custom types and create a new custom type. I will be creating two customer types - article and trending. Article custom type is going to be a full-length news article however trending are going to be short news snippets. You can use the drag and drop options on the right side of the dashboard while creating a new custom type. If you are facing any problem you can watch the YouTube tutorial to see how exactly it is done.
Create a few articles and trending custom types and fill them with dummy data. If you don't want to go to that hassle you can use my API endpoint to test it out.Now that you've created the dummy data we are ready to fetch that from our front end.
Querying the Prismic CMS
There are a lot of ways to query the data from the Prismic headless CMS but right now we will be using only a few methods.
Remember the missing function called getServerSideProps(), We will be fetching the data inside the function like this -
// this function is called everytime a request/refresh is made

export async function getServerSideProps() {
  const articles = await Client().query(Prismic.Predicates.at('document.type', 'article'))
  const trending = await Client().query(Prismic.Predicates.at('document.type', 'trending'))

  return {
    props: {
      articles: articles,
      trending: trending,
    },
  }
}
As you can see we are using the predicates to query the CMS for documents that have type of article or trending.
Our home page will look like this -
import Prismic from 'prismic-javascript'
import Head from 'next/head'
import { RichText } from 'prismic-reactjs'
import Layout from '../components/Layout'
import Link from 'next/link'
import { Client } from '../prismic-configuration'

export default function Home() {
  return (
    <div>
      <Head>
        <title>Create Next App</title>
        <link rel="icon" href="/favicon.ico" />
      </Head>

      <Layout>Hi from Home</Layout>
    </div>
  )
}

// this function is called everytime a request/refresh is made

export async function getServerSideProps() {
  const articles = await Client().query(Prismic.Predicates.at('document.type', 'article'))
  const trending = await Client().query(Prismic.Predicates.at('document.type', 'trending'))

  return {
    props: {
      articles: articles,
      trending: trending,
    },
  }
}
Now we can access the props we are returning from the getServerSideProps() function, inside the default export by destructuring the returned JSON object.
And after we have access to the JSON object we can use the map function in arrays and create those articles and attending articles inside the index page. The final code will look like this -
import Prismic from 'prismic-javascript'
import Head from 'next/head'
import { RichText } from 'prismic-reactjs'
import Layout from '../components/Layout'
import Link from 'next/link'
import { Client } from '../prismic-configuration'

export default function Home({ articles, trending }) {
  return (
    <div>
      <Head>
        <title>Create Next App</title>
        <link rel="icon" href="/favicon.ico" />
      </Head>

      <Layout>
        <h1 className=" my-10 ml-24 text-2xl font-bold uppercase opacity-50">
          {' '}
          See what's happening around the world
        </h1>

        <div className="flex">
          <div className="ml-24  mr-20 flex w-2/3 flex-col">
            {articles.results.map((article, index) => (
              <div className="mb-10" key={article.uid}>
                <Link href={`article/${article.uid}`}>
                  <h1 className="bold cursor-pointer text-3xl text-blue-600">
                    {RichText.render(article.data.title)}
                  </h1>
                </Link>

                <img className="w-2/3" src={article.data.feature_image.url} alt="img" />

                <h1 className="mt-5"> {RichText.render(article.data['preview-info'])}</h1>
              </div>
            ))}
          </div>
          <div className="flex  w-1/3 flex-col">
            <h1 className="my-10 ml-24 text-xl font-bold uppercase opacity-50">
              See what's trending
            </h1>

            {trending.results.map((article, index) => (
              <div key={article.uid}>
                <Link href={`trending/${article.uid}`}>
                  <h1 className="bold cursor-pointer text-xl text-blue-600">
                    {RichText.render(article.data.headline)}
                  </h1>
                </Link>

                <hr className="mt-5" />
              </div>
            ))}
          </div>
        </div>
      </Layout>
    </div>
  )
}

// this function is called everytime a request/refresh is made

export async function getServerSideProps() {
  const articles = await Client().query(Prismic.Predicates.at('document.type', 'article'))
  const trending = await Client().query(Prismic.Predicates.at('document.type', 'trending'))

  return {
    props: {
      articles: articles,
      trending: trending,
    },
  }
}
Querying with filters from Prismic CMS
We can make specific query by applying some filters in the query function of Prismic like this -
const articles = await Client().query(Prismic.Predicates.at('document.tags', ['business']))
This method will only query the articles that are tagged with a specific word for example here the word is business. So this query will return all the document types that are tagged with the business word. You can tag the custom type by yourself by going to that specific article and on the top of the dashboard, you can see tags setting.
I have already created the tags for the different news articles for example business, politics, and sports. Once you are created these tags you can query the specific articles according to the page. For example, if you are on the politics page you will query all the articles that are tagged with politics word. If you want you can see the whole source code on GitHub.
Creating Dynamic Routes in NextJS
Each news article should have its own page and for that should have its own link. We can make this happen using the dynamic Routing in NextJS. Inside function get getServerSideProps() access to a param called context -
export async function getServerSideProps(context) {
  return {
    props: {}, // will be passed to the page component as props
  }
}
As per the official docs -
The context parameter is an object containing the following keys:
params: If this page uses a dynamic route,paramscontains the route parameters. If the page name is[id].js, thenparamswill look like{ id: ... }. To learn more, take a look at the Dynamic Routing documentation.req: The HTTP IncomingMessage object.res: The HTTP response object.query: The query string.
Hence if the route is - yoursite.com/article/my-new-slug, the last part, i.e. my-new-slug can be obtained by context.query.article
All these slugs are going to be unique for each article we write on the CMS (uid) and once we know what article was queried by the browser, we can fetch that particular article dynamically because we have that uid (which is same as the slug).
The function we look like this -
export async function getServerSideProps(context) {
  const article = await Client().getByUID('article', context.query.article)

  return {
    props: {
      article: article,
    },
  }
}
We can now, destructure the article JSON returned from the function and render it as per our need.
But how exactly a dynamic page works in NextJS? For this create a new folder inside the pages folder and name it what you want to appear in the address bar. For example if you create a folder called pudding, all the links will be like this - mysite.com/pudding/my-news-article1
So you get the gist. We will be creating a new folder called article inside the pages folder. Now for a dynamic route, NextJS has specific method of writing the file name, using square brackets.
So the file I created was - [article].js
Remember what you write inside the square bracket as you will need that to get the data from the context. (context.query.< whatever was inside the square bracket >).
That is it. The dynamic page will look like this in the final form with all the bells and whistles -
// [article].js
import { RichText } from 'prismic-reactjs'
import { Client } from '../../prismic-configuration'
import Layout from '../../components/Layout'
import Link from 'next/link'
export default function Article({ article }) {
return (
<Layout>
<div className="mx-auto w-2/3">
<h1 className="my-10 text-3xl font-bold uppercase opacity-50">
{RichText.render(article.data.title)}
</h1>
<img className="mb-20 shadow-xl" src={article.data.feature_image.url} alt="image" />
<h1 className="text-lg opacity-75">{RichText.render(article.data['full-article'])}</h1>
<Link href="/">
<button
className="my-4 bg-black px-10 py-3 text-lg uppercase text-white
"
>
{' '}
Back to home 👈
</button>
</Link>
</div>
</Layout>
)
}
// this gets called on each request
export async function getServerSideProps(context) {
const article = await Client().getByUID('article', context.query.article)
return {
props: {
article: article,
},
}
}
Take note that you need a special render function to render the rich text fetched from the Prismic CMS.
You can create a new dynamic route now for those trending articles too.
// [trending].js
import { RichText } from 'prismic-reactjs'
import { Client } from '../../prismic-configuration'
import Layout from '../../components/Layout'
import Link from 'next/link'
export default function Article({ article }) {
return (
<Layout>
<div className="mx-auto w-2/3">
<h1 className="my-10 text-3xl font-bold uppercase opacity-50">
{RichText.render(article.data.headline)}
</h1>
<h1 className="text-xl opacity-75">{RichText.render(article.data.info)}</h1>
<Link href="/">
<button
className="my-4 bg-black px-10 py-3 text-lg uppercase text-white
"
>
{' '}
Back to home 👈
</button>
</Link>
</div>
</Layout>
)
}
// this gets called on each request
export async function getServerSideProps(context) {
const article = await Client().getByUID('trending', context.query.trending)
return {
props: {
article: article,
},
}
}
Once again you can check out the whole code at my GitHub repository here - https://github.com/toughyear/nextjs-prismic-news-site
With this, we can conclude this blog post and if you have any doubt or find any error, you know where to find me (my twitter :) of course- https://twitter.com/RajeevSinghN). See you soon and keep rocking.